*** updated picture added all the way down below after 12months of curing in a real rockpool ***
 DIY “Liverock” is a way of making very porous rock in nearly any shape you want. This has been my plan to do for a long time ever since I found this fascinating idea on Reefcentral (see links below). First only to make it as actual bacteria holding haven in the sump but now also because I want to completely redo my Maintank. We are hopeing to move soon and that means I will have to take apart the system anyway so a new rock structure and a couple of other revamps are planned.
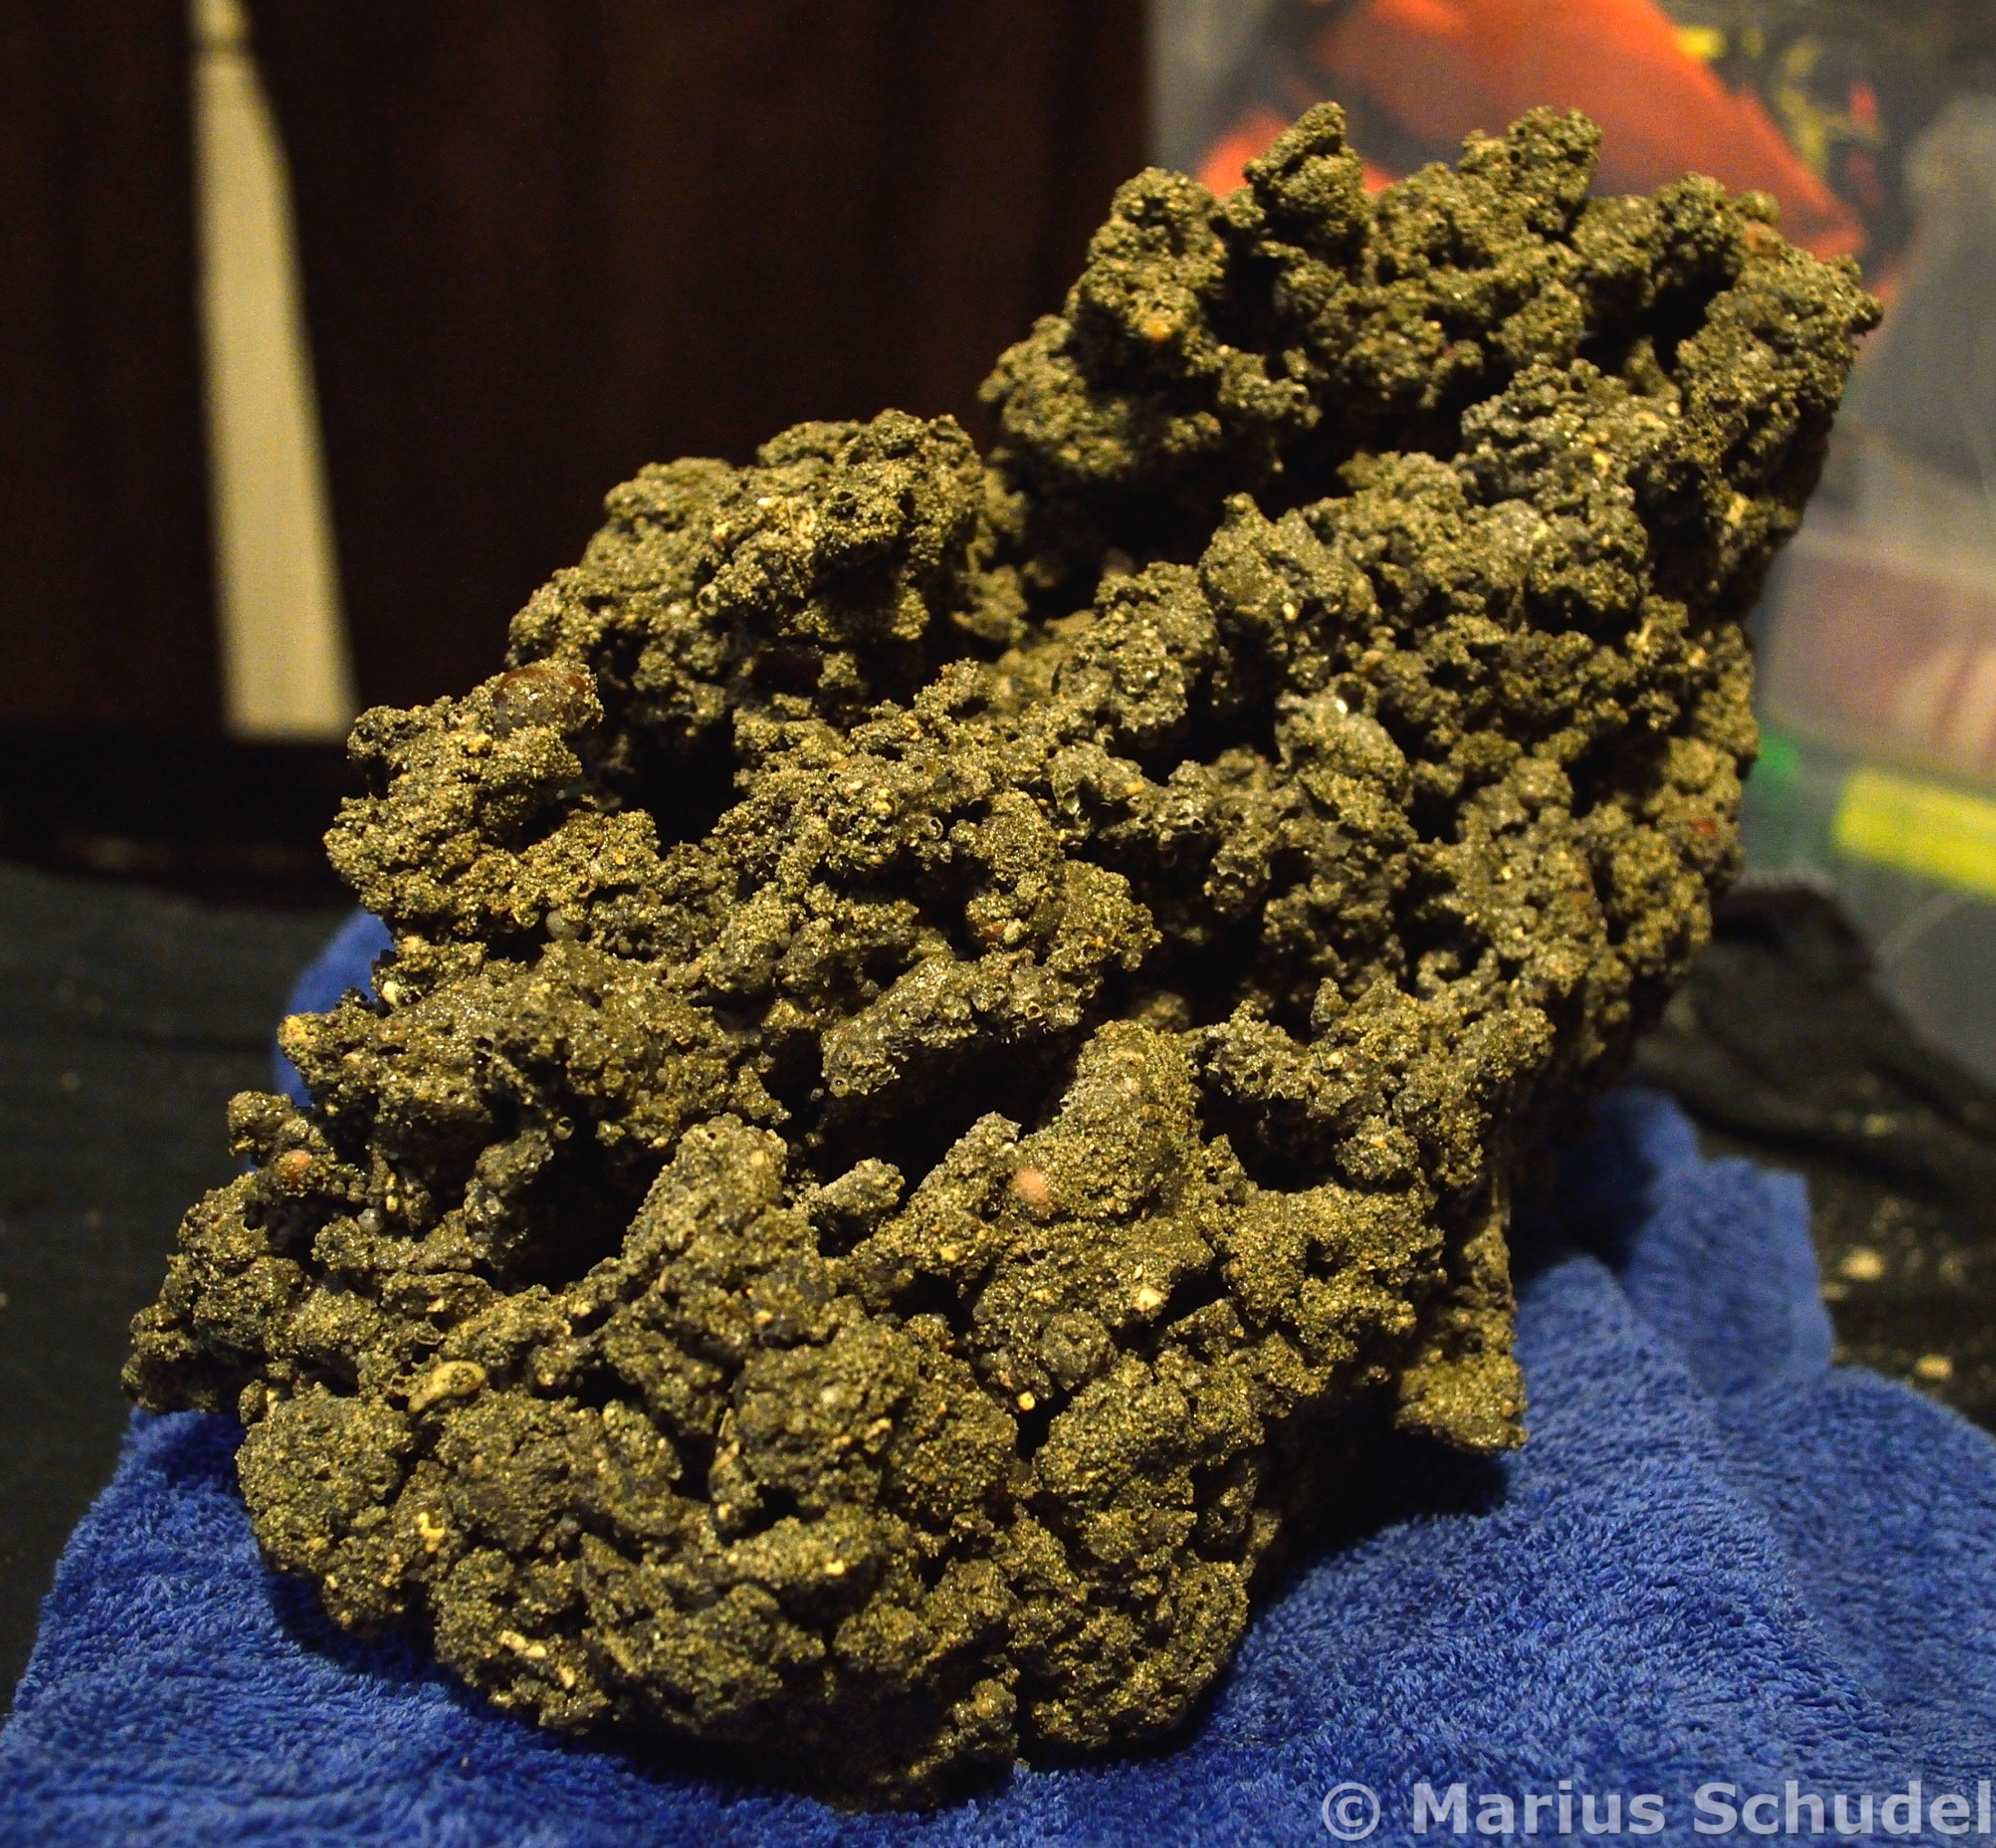
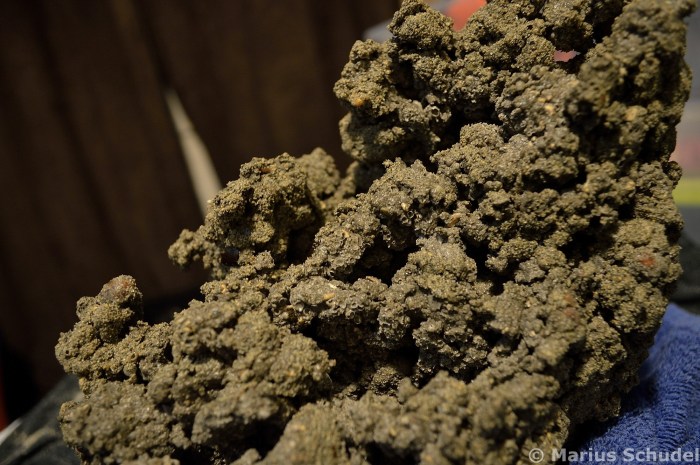
This below is one of my first rocks. It hasnt been in the sea yet so its very fresh and clean looking, however the color is not too bad, especially compared to the sand and the grey rock in the right of the pic. Was hoping it would be darker but I guess it all doent matter once it gets taken over by algea etc.

I dont take any credit for the recipies and the idea of how to do it. I read it all in a post on Reefcentral, special thanks to Travis Stephens and Insane Reefer!!
This is the start of the thread http://reefcentral.com/forums/showthread.php?t=807988
This post has a nice summary v4.0 when you scroll down http://reefcentral.com/forums/showthread.php?t=952524&page=40
Beware the thread has been split multiple times because of thousands of posts. Hence I am trying to scale it down here and just give my experiences and recipe that is all based on their initial trials.
What I write here below is more like a taster and hopefully inspire some people (as I was) in doing it too. I would advise to at least read the second link above if you attempt this yourself.
The fissure technique I find the most exciting. You sprinkle down some cement then basically lay down a layer of salt to separate it the another layer of cement on top. Like that the rocks can have very deep fissures and holes that look cool and give plenty of hiding places. Its very hard to capture the effect of the depth on camera…


Here one with a shallow cave about 8cm long and 7cm wide

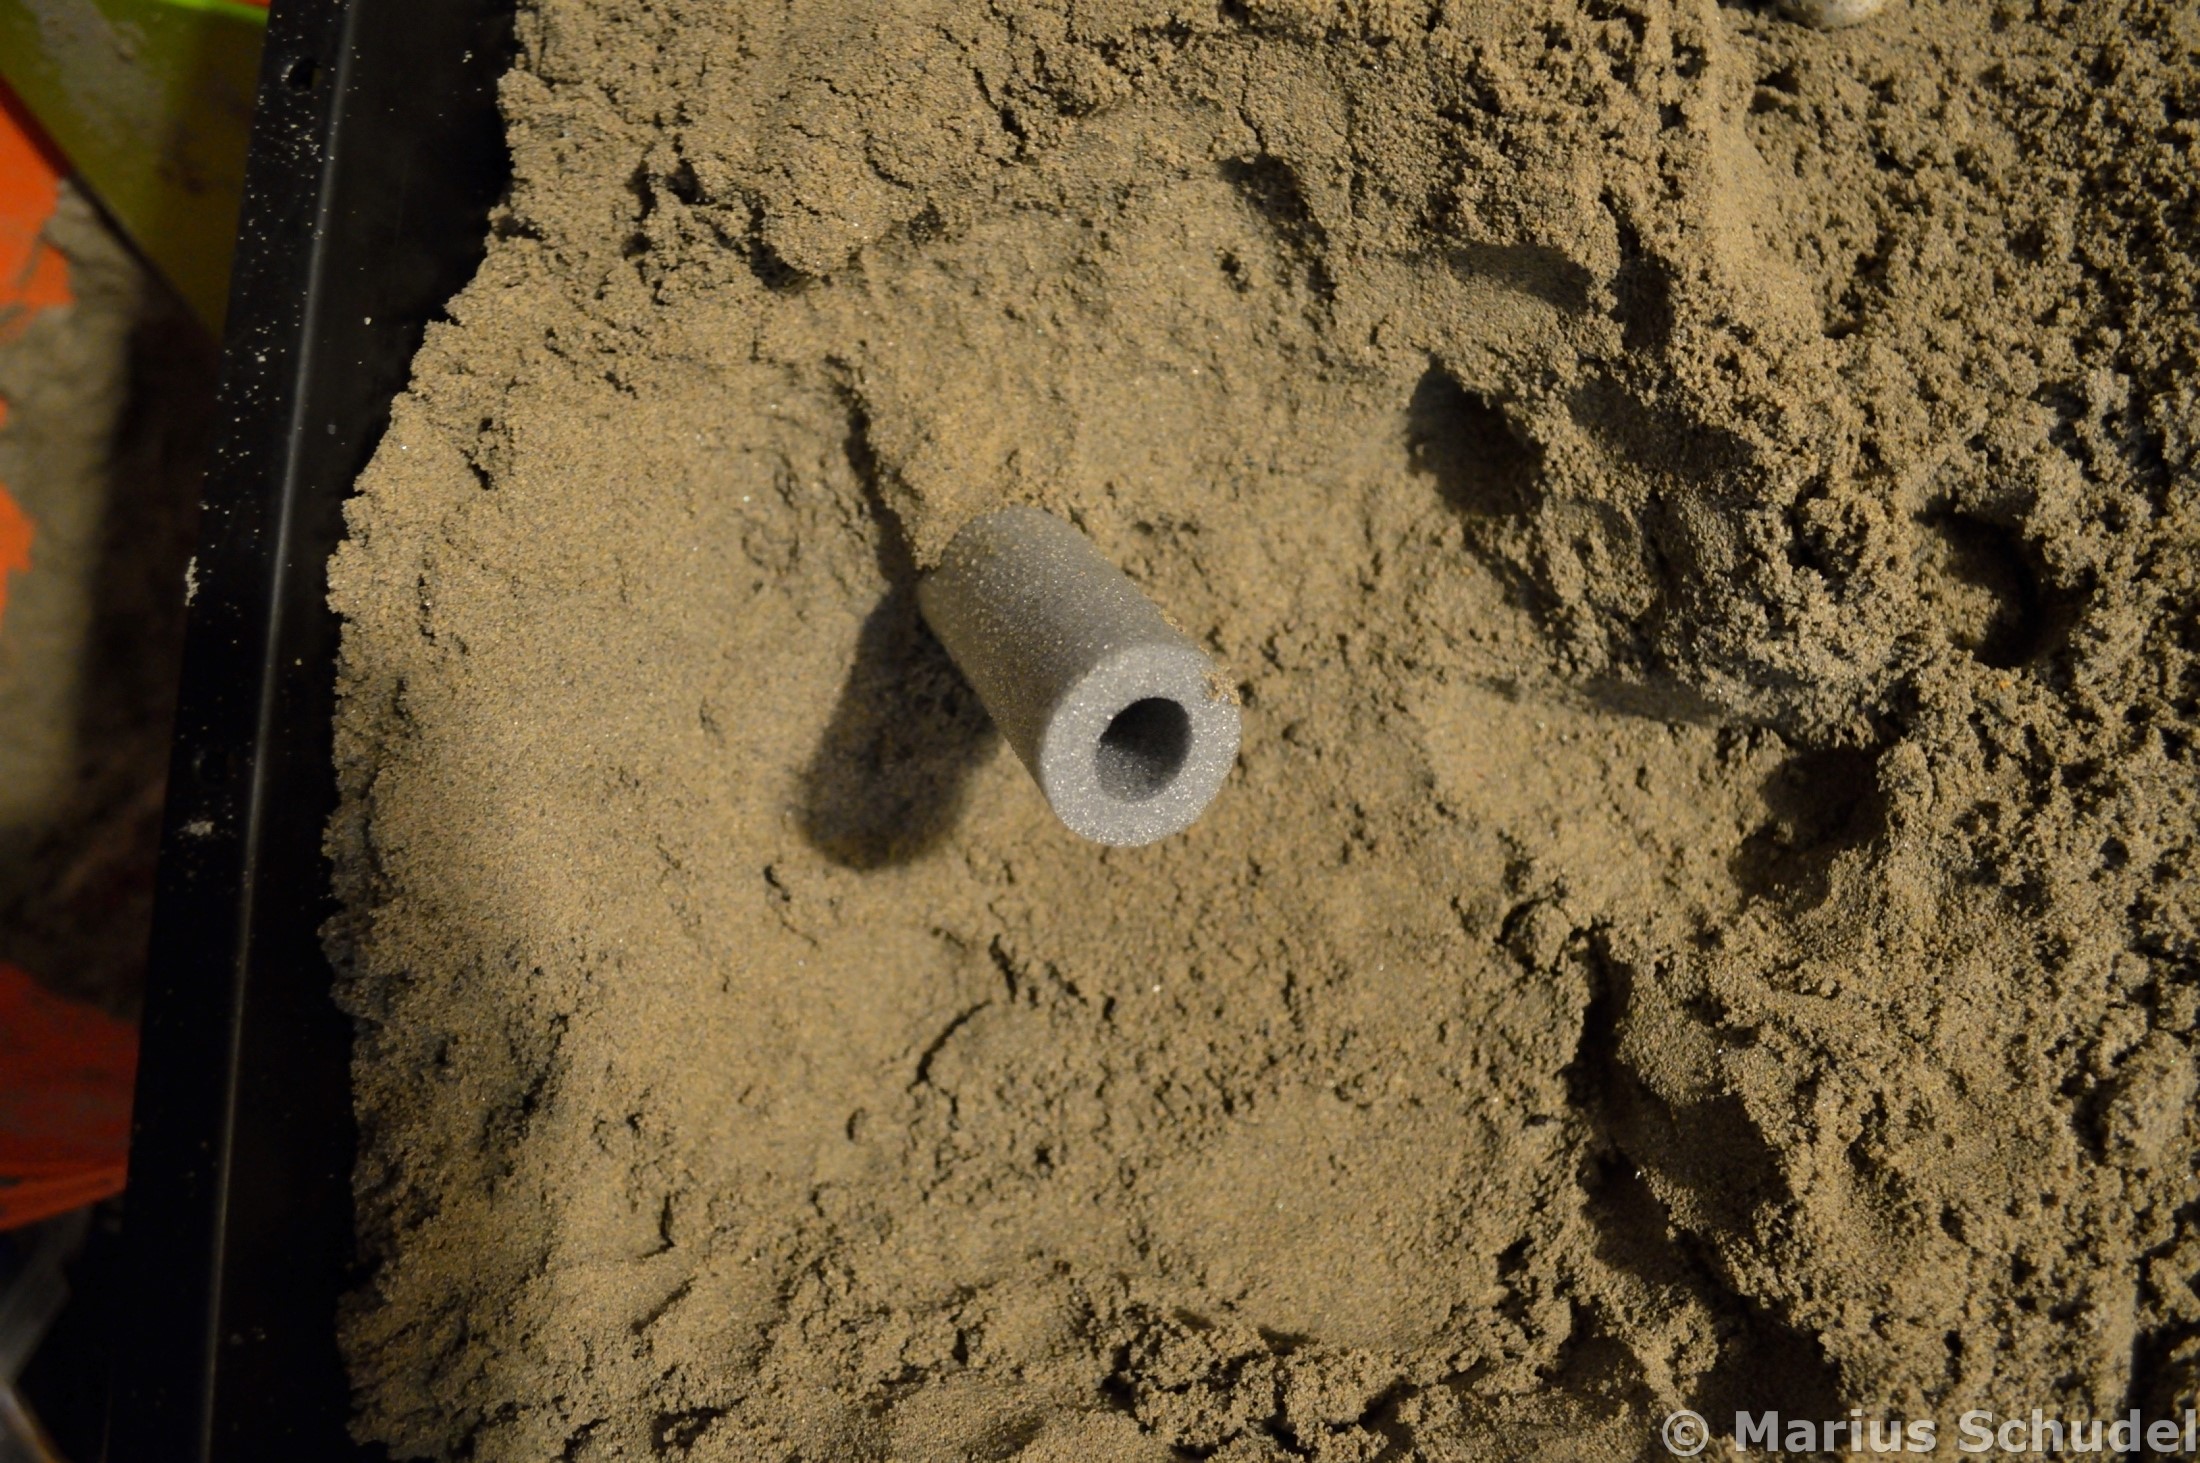
You can also just place a piece of tubing or pipe and mold around it to make tunnels. Almost unlimited possibilities theoretically 😉 The difficulty is seeing it when making the cast and every thing is a negative or mirrored or both. Takes a bit of practise but its fun 🙂
Now here I try to summarize as simply as possible the steps to get to a DIY Rock.
Tools needed:
Mixing bucket for the cement
Garden Hand Trowel for mixing
Bit of Galvanised Wire for pocking holes
Large Storage Container for Casting and Curing
A spray bottle with water is handy to re moisten
Incredients for the Cement Mix and Cast:
Portland cement
Beach Sand for the cement and loads for making the cast
Crushed Shells (Coral/Crushed Coral could be used too)
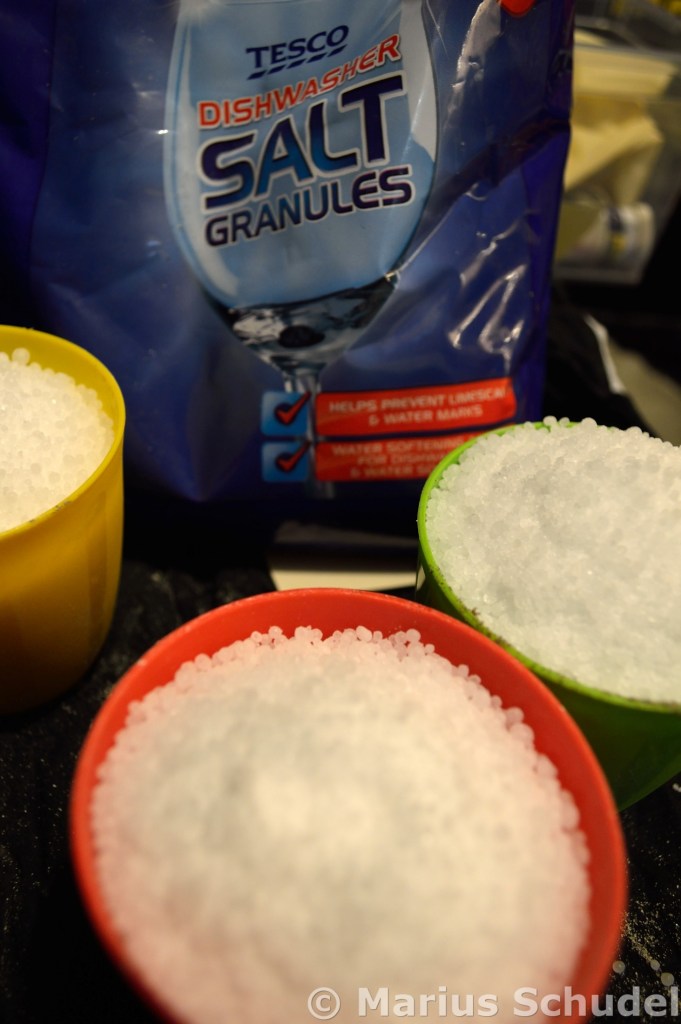
Coarse Salt without additives (I use Tesco Dishwasher Salt (2mm), something a bit coarser like 3-4mm would be even better)
Water

My preferred Recipies
I dont just want to make “Live” DIY rock I want to use this technique to make structural rocks that have the added benefit of porosity, increased surface area and look interesting. To me there is one important thing before starting off. There is a trade-off between structurally very strong or extremely porous. Hence after a few trials I finalized three recipes that I use.
Backgrounds
As they are likely to be preferred thin I make about 10mm of a pure strength recipe, its ugly, not really porous and real heavy but it cant be seen. Then on top of that I can put whatever features that can be seen with a medium recipe.
Rocks for the Display Aquarium
For Rocks in the Display Tank that potentially will have other rocks stacked on top I use my Medium recipe. Those Rocks still turn out very solid but will crumble under extreme pressure. It is probably still well on the safe side but I prefer to be there than looking at a collapsed structure etc. They have extreme features and brilliant porosity depending on how its cast. It also looks really nice and will give copepods, mysis shrimp and delikes plenty of undisturbed breeding grounds. I really hope to be able to maintain a fully blooming copepods and mysis cultures in the tank which will in turn allow to cater for more tricky to keep animals. Especially for my plan of keeping plenty of Lumpsuckers and Butterfish I think its essential. The plan is to make the system even more self sufficient with natural sustainable food sources and these rocks will certainly help by increasing rock surface area and creating thousands of tiny crevices plus the general porosity of the rock material itself.
Rocks for Sump
For these you could use the Porosity recipe to increase air gaps created by the salt granules. Those rocks will be a lot lighter and should be very lightly cast with no pressure added. However they will not be as strong and I wont stack them in a way that they could fall against the glass, best used in the sump or if they are not in contact with other rocks.
Max Strength:
50% Cement
50% Sand
Medium Strength/Medium Porosity (my favorite)
30% Cement
30% Sand
15% Crushed Shells/Coral
15% Salt
Max Porosity
25% Cement
25% Sand
25% Crushed Shells/Coral
25% Salt
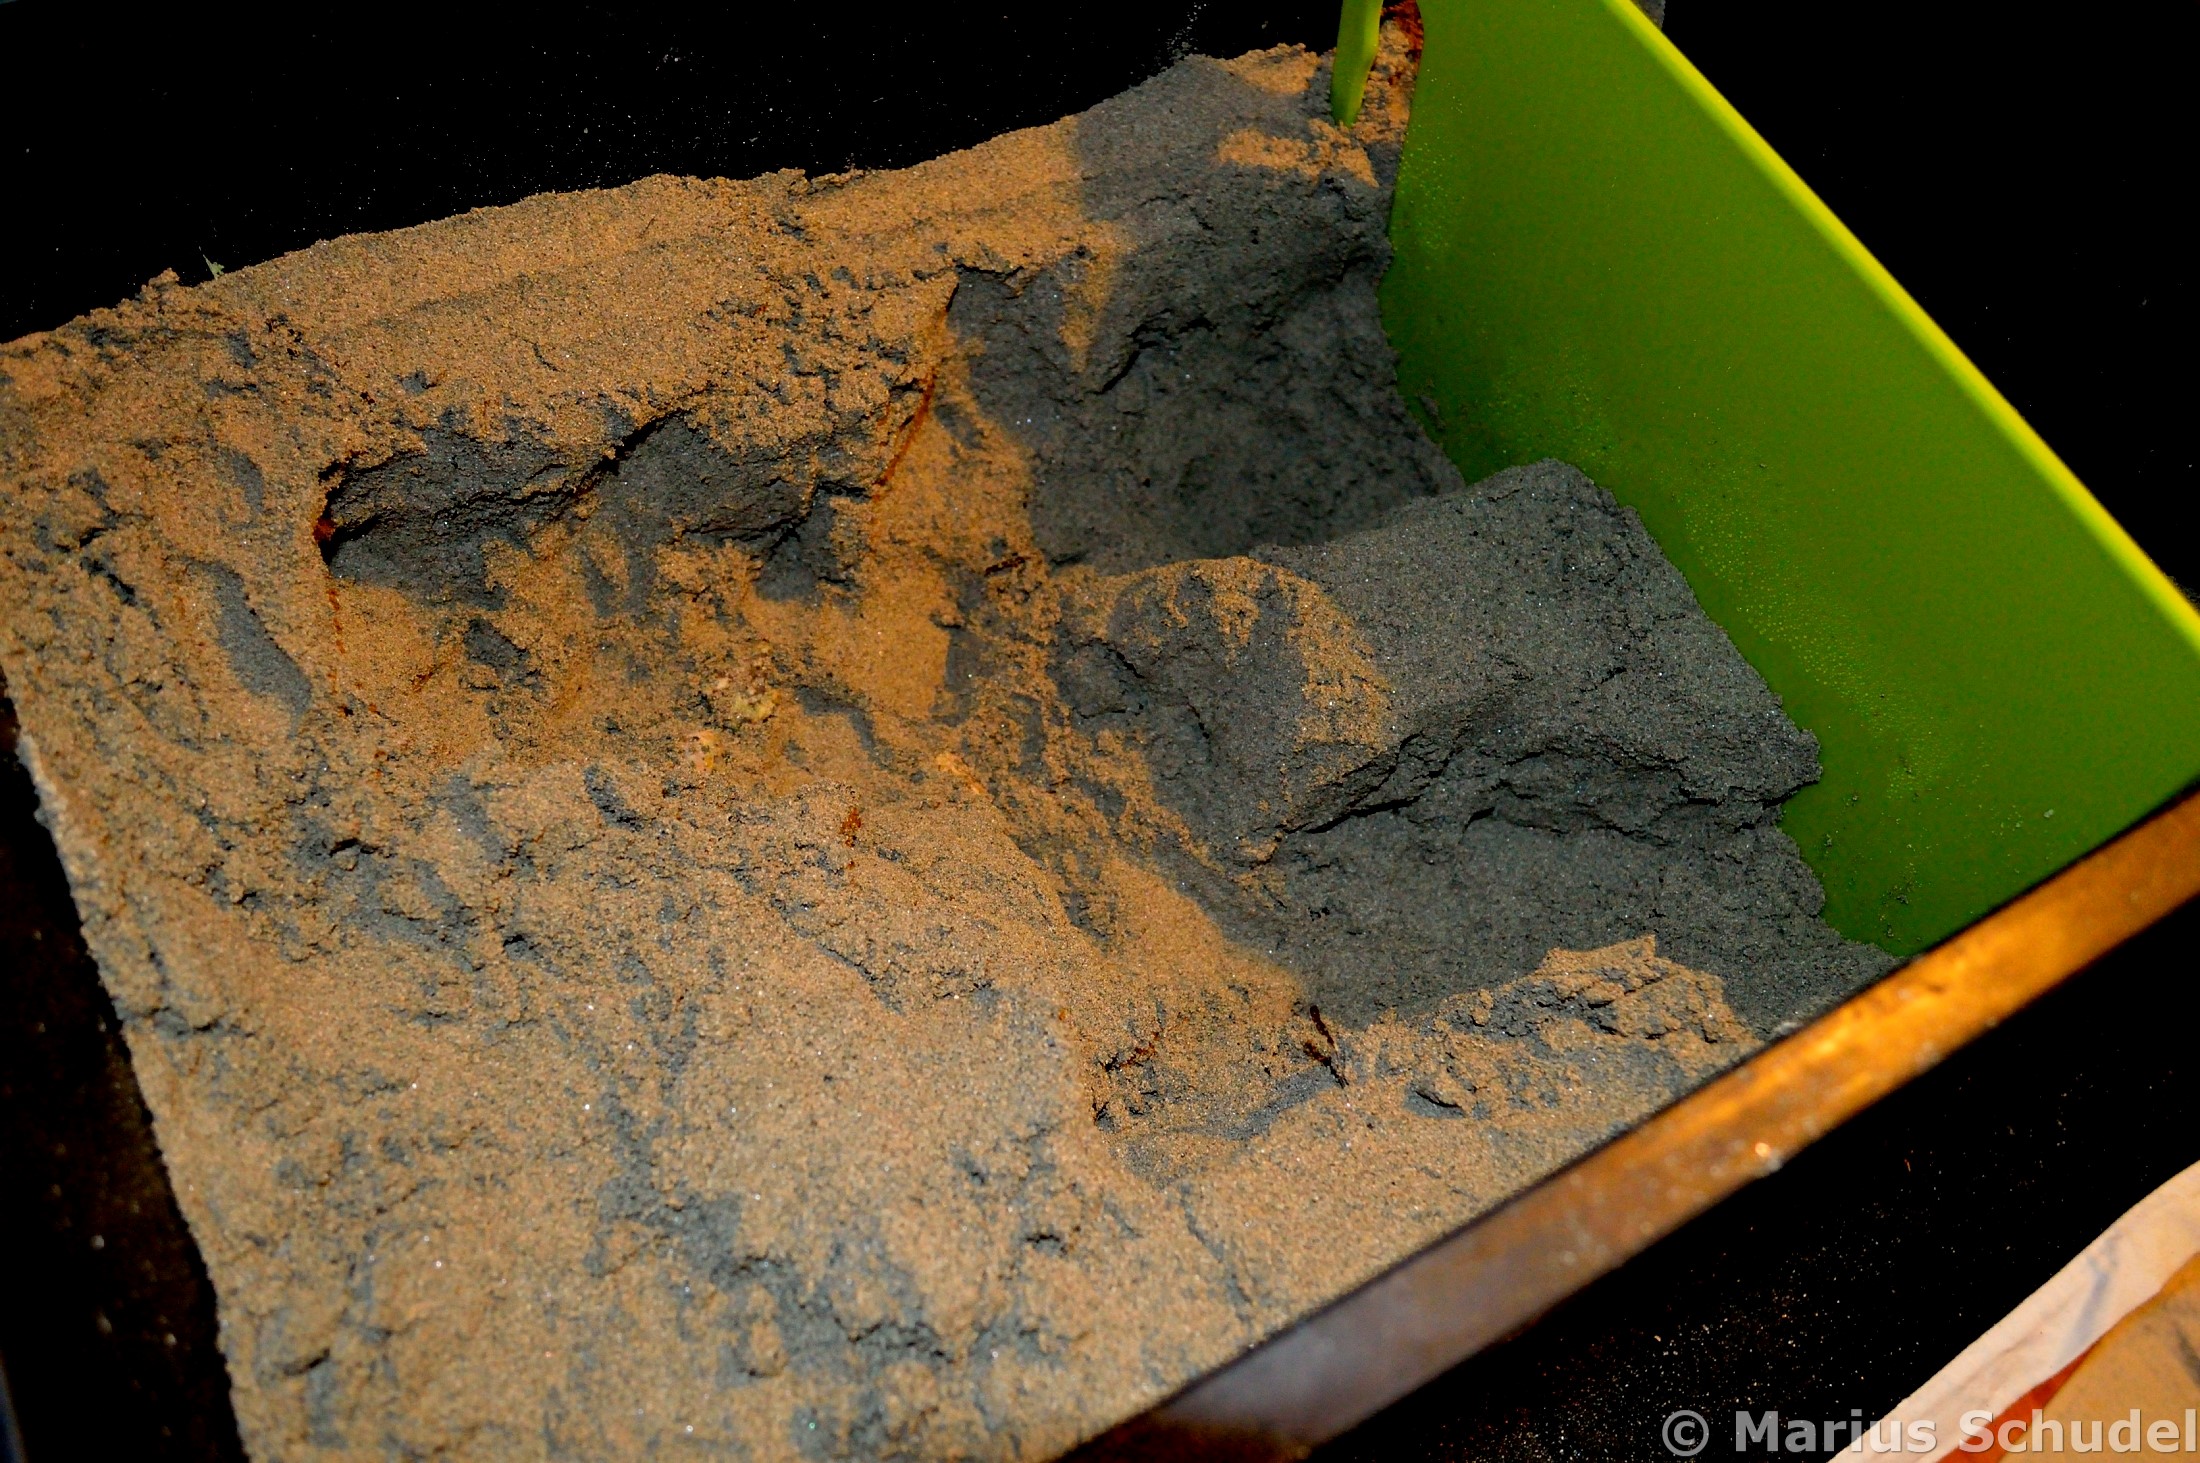
Making the Cast
This can be a challenge depending on what features are planned on the rock. I find it better to cast the rocks interesting side down if that makes sense. Options are only limited to what you can make a cast for. As its only a one sided cast one side of the rock is always pretty much limited to gravity by dropping the material on top. You can make nice features like that as well but its harder to control. So I usually make the features I really want in the sand and cast it “good” side down if that makes sense.
The sand for making the cast needs to be a bit moist so its easier to make a solid enough cast for the rough shape of the rock by hand. Then I usually take a few rocks and push them into the sand in places to make indentations to create some realistic features. Its not as easy as it sounds but basically there is no limit to what you can do. Or I used a piece of pipe insulation to make a nice tunnel. Or leaving some Rocks in the cast that will then be stuck into the DIY rock. But I dont like the mixed look.
Keep in mind as well that features can be added by using salt on its own during casting to deliberately create areas where the cement doesnt contact each other to create caves or fissures. I made a nice here trying out the fissures by layering cement then salt the cement again.
Mixing the Cement
Add cement, sand, crushed shell and mix well. once its more or less evenly mixed add water but careful not too much. Very very rough guideline, for 3 cups of dry mixture its about 2 cups of water but that heavily depends on initial sand moisture. The finished consistency has to be just slightly crumbly, not too wet. Its hard to put a word in it but it has to be crumbly but look wet without being soggy. The cement bonds are stronger when its slighty more wet but it will be nowhere near as porous and nice and realistic looking.
Once the right moisture is reached, add the salt and lightly mix. The more salt dissolves into the cement the weaker its going to get, also you dont want to break up the salt pieces too much.

Pouring the Rock
Now the fun part. I take a handful and crumble it gently into the cast as if you put grated cheese on a pizza (mmmmhh… 😉 ). That way the structure with automatically have airpockets and be quite light. Sometimes on small features I push the cement a small bit to give it more strength but you sacrifice porosity. I do that also on thin long pieces along the middle to add strength or on the bottom of rocks. Generally pressure is a no go as it ruins the nice porous features. Just dropping layer by layer from about 15cm height is what I usually do. Then adding features with salt if large cavities, caves, fissures are wanted. Thats the coolest part as some really cool features can come out of this (see pictures above). You can poke holes with a wire while casting or right after to increase micro habitats.
Dry Curing the Rock
Once the pour is finished I cover everything with sand again gentle sprinkling it on top about 25mm of a layer. Then it has to rest just like that for at least a week, two is better especially for the Porosity mixture. From what I read and my limited experience this “dry” curing time is very important and will reduce the wet cure time significantly as the rock is already reducing the ph. Keeping it moist is good for strengthening and dropping ph. Its just very difficult leaving it there burried without seeing how it came out 😉
Dissolving Salt, Wet cure
After two weeks when I remove the rocks they are pretty solid. Loose bits and small fine pieces on the surface fall off but I think thats pretty normal. I then rinse off the sand and bulk of the salt in a bucket. Then it goes in a big bucket with lots of water. Warm is better to help dissolving the salt and further strengthen the cement. Also a waterpump in the bucket helps circulation. A grey film will form quickly on the surface. After 24hrs I change the water and do it again for another 24-48hrs. Then I take them out, let them sit another few days before I place them in rock pools for the final cure and to get them seeded with copepods algea and what not. If you dont have that option you have to keep changing the water every few days until the ph has settled to around 8.5ph more infos in the links above. It pays off to extend the dry cure time as this will drastically reduce the wet cure time which is a lot of work if you cant do that in a rockpool or clean stream.
Its a bit of work but the result is amazing, creative and unique.
My first few rocks are out of the cast now and curing/seeding in a rockpool. I cant wait to set them up once I restart the tank 🙂
to be continued…
*** updated picture below after 12months of curing in a real rockpool ***
Check the comments for some more context too, I can only highly recommend to do this!!! 🙂
Pictures below are from the exact rock in the post above


Wow .. such a detailed tutorial. Thanks. Will make it one day.. added to my DIY tasks
Nice… great to have inspired someone else 😉 Good luck and let me know if you need tips. The last batch is now finished curing and seeding in the sea and I will start setting up the tank again with all the “new” rocks soon 🙂 cant wait!
Wow.. good luck. Alas I dont live near sea(New Delhi), even if I would have, like say Bombay, the water may not be conducive to corals. Only in places like Andamans, in India, I guess we have corals and then we have to check if there is any govt regulation. Lets see if and when I realise this dream. But thanks atleast I know someone who does grow corals. Till now only ones I knew were commercial organisations having youtube channel
Well we dont have corals here in the Atlantic (WestCoast of Ireland) as such either. What I am doing is more “seeding” the rocks with microlife like tiny animals and bacteria so the rocks becomes “alive” with life. Also a lot of seaweed seetles on it. Thats what I am interested too as its hard to attached seaweed manually and it usually doent do too well if not grown from scratch in the aquarium.
This is amazing, how did the rocks turn out compared to rocks collected off the shore for the settlement of algae and other invertebrates? Also, did they help out in terms of nitrate and ammonia reduction?
Believe it or not some of those rocks are still out there in the real rockpool as I never restarted this system again after moving 3 times. Now I am into aquaponics so never got back into the marine side of the hobby. But yes the rocks where INSANELY full of live and I really mean that, you couldnt see the actual rock anymore at all even between the seaweeds it was covered in small tubeworms and all sorts of live, I put it in a bucket for 30mins and the amount of animals that came out it was so cool. Honestly this would be how I would restart the system again by just seeding it with these DIY liverocks. Due to the porosity the amount of flora and fauna that it can support and beneficial bacteria is way off the charts compared to any other non porous rocks you would find naturally. It would most definitely help with nitrate and phosphate removal due the anaerobic surface area within the core of the rock I am sure of that. Its also super fun to make these rocks but you need patience to let them cure for at least 3months in the rock pool. I am gonna try and add a picture of the rock after 12months in the rockpool. Let me know if you end up doing it too, would love to see it! All the best
Callum check the post again I added pictures from after seeding 🙂